📢 Introduction to WordPress Block Variation
WordPress Block Variation API allows you to create different versions or extend (Type or variation) of a block already developed. Depending on the original block you can add a new set of attributes or Inner Blocks.
But! But! why create block variation when that can be achieved by creating a new block ??
Here are some reasons behind creating variation 🤔
- The core functionality will remain on the original Block.
- It allows you to modify certain aspects of the block.
- It’s scaleable
- It feels like an entirely new block and the user can access it from
inserter,block,transform
While you can use Block Styles to modify the look and feel of a block, it can not entirely change the input and output of the block. You can provide CSS and change the output but in case you want to add an attribute and modify output based on the attribute then you would be required to use block variation.
One of the good examples of Block Variation is Embed Block. Here original block i.e. “Embed” Block has multiple variations like “Twitter”, “YouTube”, “WordPress” and more. This variation serves a similar purpose but with different inputs and outputs. Based on input Embed block also transforms itself into relative variations. Like if you enter a YouTube video link then it transforms into YouTube Block.
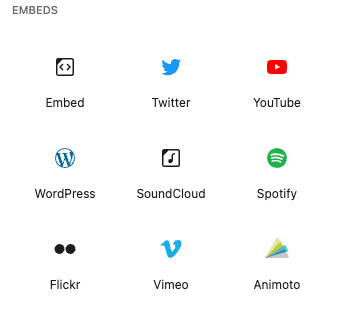
So there is a huge possibility we can explore through WordPress Block Variation. In this article, we will learn how to get started with block variation and try to deep dive into it. But before jumping into coding you need to first have a few tools and a skill set. Otherwise, it would be hard (not impossible of course) to understand the process.
📚 Knowledge Required
I assume that you are already a block developer. I shall do a detailed article later regarding Block Development. But for this article, you should have:
- Basic knowledge of WordPress Block development
- React
- PHP (With knowledge of WordPress coding)
💻 Environment setup
As a developer, you would of course know these setups but still, I am listing those 😀
- WordPress Install
- A plugin setup using the “Create Block” Package
- Latest Node
- Code Editor
🏃♂️ Let’s Go and code
This article will guide you in creating a WordPress Block Variation of the “Cover” Block. The variation will be called “Title Banner” and it will have the following features:
- This block can be used on a single post or inside the Query Loop Block.
- It will show a cover block with a title block inside it.
- We will set some default attributes.
Now that we have set our goal let’s do coding.

Setup
Let me set my plugin here using the “Create Block” package. in the side wp-content → plugins folder I will run the following command.
npx @wordpress/create-block@latest title-bannerThis will start block setup, You might have to answer a few questions. Once done you will see a folder named “title-banner” inside the plugin folder. You will see the following folder and file structure inside.
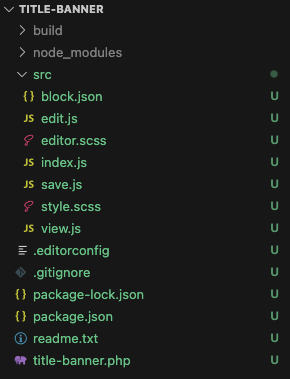
But! But!

Are we developing a Block? No!
Clean Up Code
We don’t need everything. We just need a plugin setup and we need to delete a few files and make a few changes.
- Let’s delete all files inside the
srcfolder. - Then, in the main plugin file i.e.
title-banner.phpwe need to delete this portion of the code.
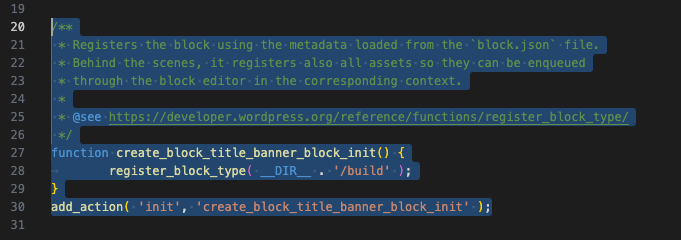
Now the setup is almost clean. Next, let’s create a JavaScript entry file inside the src folder. We will name the file index.js. For now just to check it’s working let’s add a console log inside.
console.log( 'From src/index.js' );In the terminal if you run
npm run buildyou should see the following files in the side build folder.

If you see it then you are on the correct way, if not then:

(Go deep to fix it 😅)
Some PHP Code
Now that we have a build working we need to enqueue that on Block Editor ( or you may call it Gutenberg Editor). Let’s do some PHP now. In the plugin main file add the following code.
/**
 * Enqueue editor assets.
 *
 * @return void
 */
function title_banner_editor_assets() {
	// Read assets file.
	$assets_file = include plugin_dir_path( __FILE__ ) . 'build/index.asset.php';
	$ver = $assets_file['version'];
	$deps = $assets_file['dependencies'];

	// Enqueue script.
	wp_enqueue_script( 'title-banner-editor', plugin_dir_url( __FILE__ ) . '/build/index.js', $deps, $ver );
}
add_action( 'enqueue_block_editor_assets', 'title_banner_editor_assets' );
Here “enqueue_block_editor_assets” hook will enqueue our index.js file from the build folder into the editor. This will not enqueue in any other admin or frontend pages. One is saved and if you go to the backend and edit any post then in the browser console you should see:

This is the console message we had written in our src/index.js file. Now we have completed a major part of the plugin successfully 🎉🎉. Next, our focus would be on the src/index.js file where we will write code for variation.
But first, let’s run the following command in the terminal to start the file watch
npm run startLet’s do some JavaScript
Once it starts watching and compiling, open the src/index.js file, and let’s start by importing the “registerBlockVariation” function from the @wordpress/blocks package.
import { registerBlockVariation } from '@wordpress/blocks'Now we have access to “registerBlockVariation” function we can use it to register variation with detail about it. Let’s use the function
import { registerBlockVariation } from "@wordpress/blocks";

// This is a unique name for our variation.
const coverBlockVariationName = "racase/title-banner";
registerBlockVariation("core/cover", {
	name: coverBlockVariationName,
	title: "Title Banner",
	description: "Displays Featured image with Post Title.",
	category: "theme",
	keywords: ["Banner", "Post"],
});
Block Variation Parameters
Here first parameter of the “registerBlockVariation” function is the block name which we want to create variation of. The second parameter is a JavaScript object where we add variation information. Commonly used keys in the object are the following:
| name | A unique name of the block here we have, “racase” which is a namespace followed by a forward slash (‘/”) and the actual block name i.e. “title-banner“ |
| title | This is a label for the variation which will be shown in the insert or block sidebar. |
| description | Few lines that describe the block variation. |
| category | A category classification is used in search interfaces to arrange block types by category. |
| keywords | An array of terms that help users find the variation while searching. |
| attributes | List of values that override original block attributes. |
| innerBlocks | Initial template configuration of nested blocks. |
| isActive | A function or an array of block attributes is used to determine if the variation is active when the block is selected. |
Ok, now you understand the code let’s go to the backend editor and view the result. Edit/ Add post and in inserter search for “Title Banner”. You should see the following result.
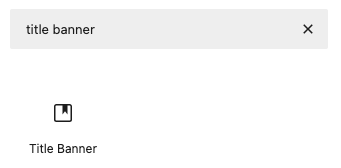

Boom! Now we have some results. If you add in an editor sadly it will revert to Cover Block. But there are more things to do. Let’s move to attributes.
Attributes
Add the attributes key in the second parameter object. The attributes key is also an object so inside we will add a namespace key and the value would be the name of the variation.
const coverBlockVariationName = "racase/title-banner";
registerBlockVariation("core/cover", {
	name: coverBlockVariationName,
	title: "Title Banner",
	description: "Displays Featured image with Post Title.",
	category: "theme",
	keywords: ["Banner", "Post"],
	attributes: {
		namespace: coverBlockVariationName,
	},
});
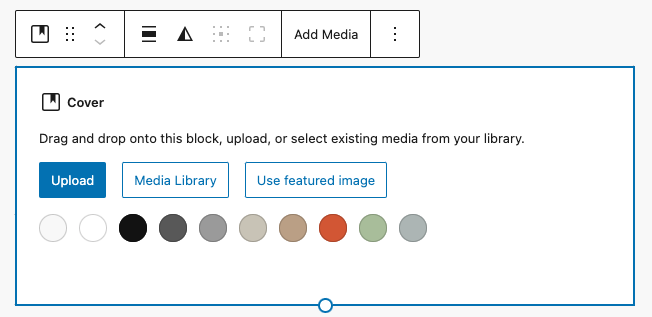
In the backend, if you add variation from the inserter you will see this in the editor area. Now we are sticking to “Title Banner” instead of Cover.
Inner Blocks
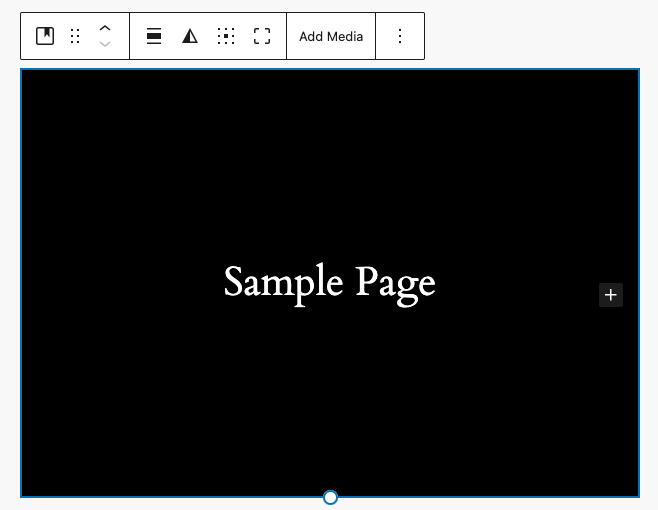
Next, let’s set a default template for our variation so that users don’t have to choose. For this, we will use the “innerBlocks” key in the second parameter. You can set it to any template format but I am using it as shown below.
registerBlockVariation("core/cover", {
	name: coverBlockVariationName,
	title: "Title Banner",
	description: "Displays Featured image with Post Title.",
	category: "theme",
	keywords: ["Banner", "Post"],
	attributes: {
		namespace: coverBlockVariationName,
	},
	innerBlocks: [
		[
			"core/post-title",
			{
				textAlign: "center",
			},
		],
	],
});
On the editor, you will get the following result. This would be in the same format that you set on the “innerBlocks” key. Later users can also modify it as they require.
Set Variation Active
But if you notice the sidebar you will still see “Cover” and its description. The reason is that we haven’t set our variation active.
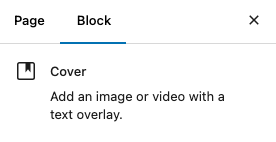
To set the variation active we will need to use the “isActive” key in our second parameter. The “isActive” key is a function or an array of block attributes that is used to determine if the variation is active when the block is selected. The function accepts “blockAttributes” And “variationAttributes” as shown in the code below.
registerBlockVariation("core/cover", {
	name: coverBlockVariationName,
	title: "Title Banner",
	description: "Displays Featured image with Post Title.",
	category: "theme",
	keywords: ["Banner", "Post"],
	attributes: {
		namespace: coverBlockVariationName,
	},
	innerBlocks: [
		[
			"core/post-title",
			{
				textAlign: "center",
			},
		],
	],
	isActive: function (blockAttributes, variationAttributes) {
		return coverBlockVariationName === variationAttributes?.namespace;
	},
});
After the “isActive” key set we can see that our variation is now active.

More Attributes
Now let’s add the other attributes to our variation. Here we are going to add the following attributes:
| align | “wide” so that banner would be wide. |
| customGradient | We will set a gradient so that by default it will show in case there is no featured image on the post. |
| useFeaturedImage | We will set it to “true” so that the banner will show the featured image in case it’s added to the post. |
| dimRatio | This would be the opacity of the color or gradient. We will set it to 40 so that in case there is the featured image it will also show gradient. |
| style | style attribute will be used to set text and link color. We want post title color to be visible. |
registerBlockVariation("core/cover", {
	name: coverBlockVariationName,
	title: "Title Banner",
	description: "Displays Featured image with Post Title.",
	category: "theme",
	keywords: ["Banner", "Post"],
	attributes: {
		namespace: coverBlockVariationName,
		align: "wide",
		customGradient:
			"linear-gradient(135deg,rgb(6,147,227) 0%,rgb(155,81,224) 100%)",
		useFeaturedImage: true,
		dimRatio: 40, // opacity
		style: {
			color: { text: "#fafafa" },
			elements: { link: { color: { text: "#fafafa" } } },
		},
	},
	innerBlocks: [
		[
			"core/post-title",
			{
				textAlign: "center",
			},
		],
	],
	isActive: function (blockAttributes, variationAttributes) {
		return coverBlockVariationName === variationAttributes?.namespace;
	},
});
Result
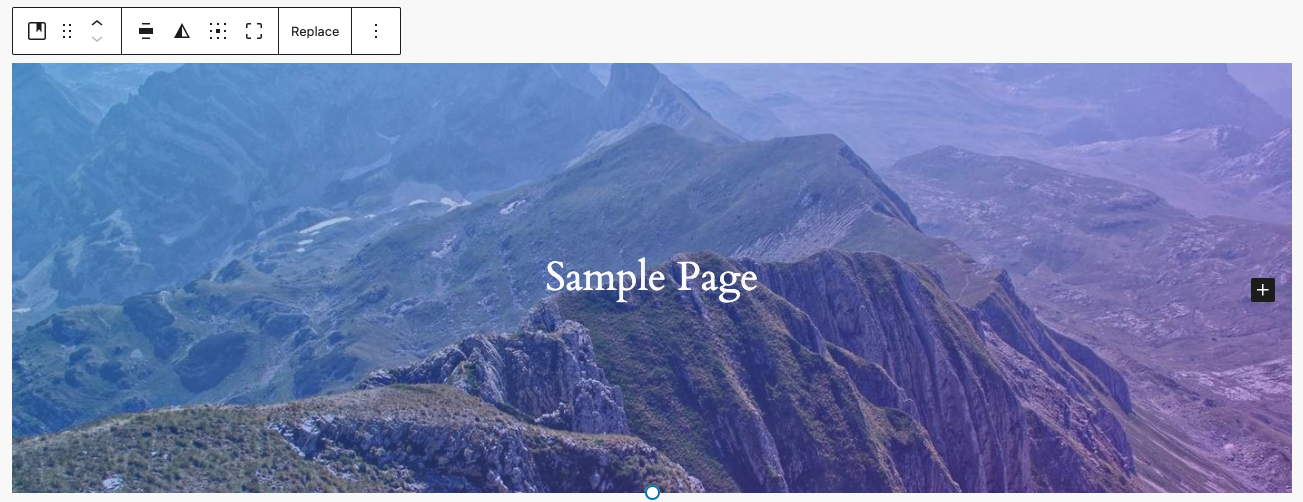
After the changes in the attributes, it will output as follows.
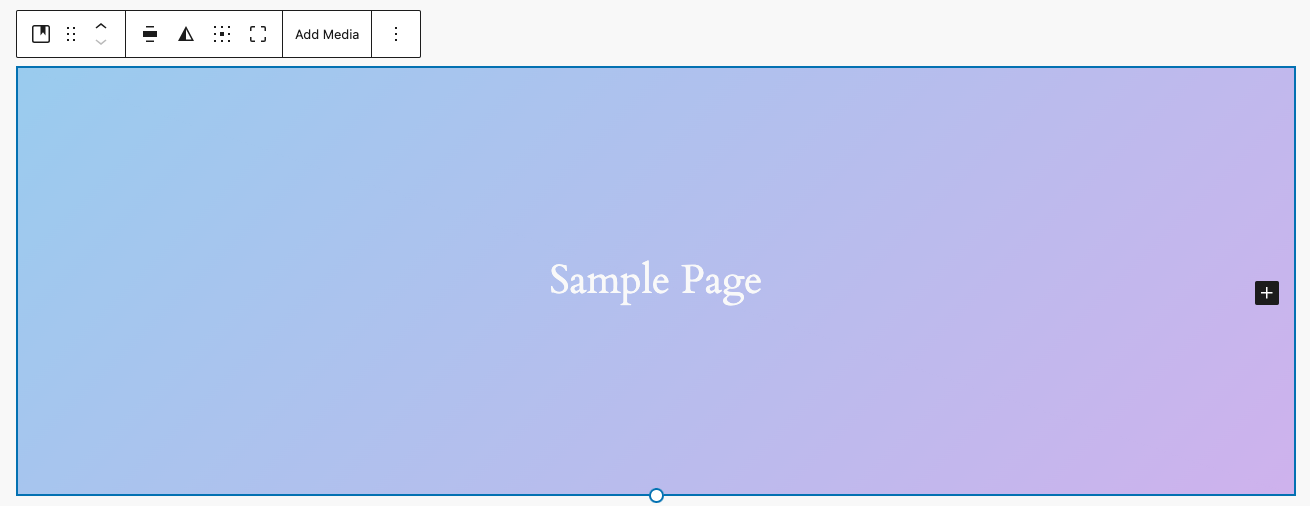
If you add a feature image on the post it will be visible in the block. Here is an example.
That’s all for creating a WordPress Block Variation. There are other possible ways to create variation depending upon the block. We can create a variation for the “Query Loop” Block to show only specific post types and filter according to taxonomy.
📖 Resources
I hope this will get you started. If you have any comments or questions do let me know 😀.


